Steps For Installing Terrazzo Flooring for a Luxurious Home Upgrade
When it comes to upgrading the flooring of your home, few options can match the elegance and luxury offered by terrazzo flooring. Terrazo floors are durable, attractive, and easy to maintain, and can add a luxurious touch to any space. It is a timeless material that has been used for centuries to create stunning and durable surfaces. Its unique blend of beauty and practicality has made it a popular choice for both residential and commercial spaces. Installing terrazzo floors can be a simple process, but it s important to take your time and plan it out carefully.
Step 1: Preparation
Before you embark on the journey of installing terrazzo flooring, thorough preparation is essential. This step involves assessing the subfloor, ensuring it’s clean, level, and free from any debris. Any cracks or uneven areas should be addressed, as they can affect the final result.
Step 2: Mix Design Selection
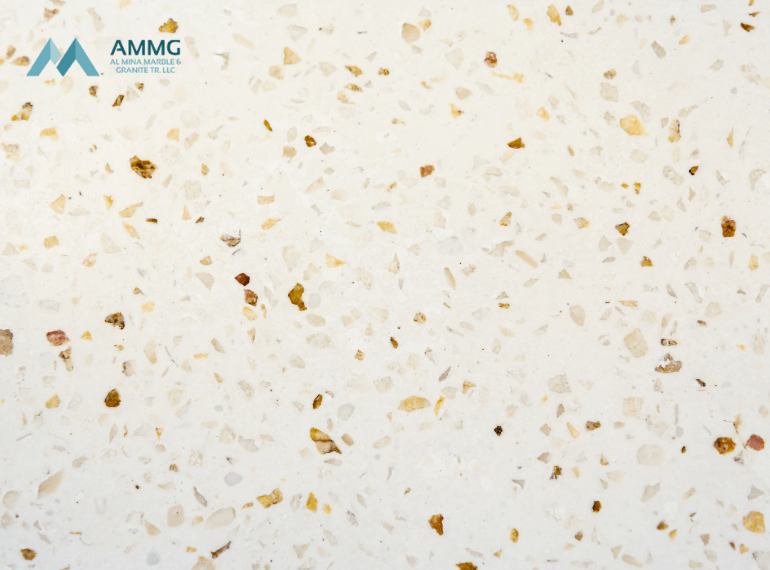
One of the captivating aspects of terrazzo is its endless design possibilities. You can choose from a wide range of aggregates, including marble, glass, mother-of-pearl, and more. Select a mix that complements the aesthetic of your home and reflects your personal style. Collaborating with a designer or architect can help you achieve a cohesive look.
Step 3: Creating the Terrazzo Mix
The terrazzo mix consists of aggregates and a binder, usually cement or epoxy resin. The mix is created by combining these materials in precise ratios to achieve the desired appearance and durability. The aggregates are mixed with the binder until a uniform consistency is achieved.
Step 4: Installation
The installation process involves several stages:
a. Bonding Layer: A thin layer of the terrazzo mix is applied to the prepared subfloor. This layer acts as a bonding agent between the subfloor and the terrazzo topping.
b. Topping Layer: The terrazzo mix is poured and spread evenly over the bonding layer. Skilled craftsmen then press the aggregates into the surface to ensure proper adhesion and eliminate air pockets.
c. Grinding and Polishing: Once the terrazzo mix has cured, the surface is ground to expose the aggregates and create a smooth, level finish. Successive levels of finer grinding pads are used to achieve the desired level of gloss and shine.
d. Sealing: To enhance the durability and beauty of your terrazzo flooring, a protective sealer is applied. This sealer helps to prevent staining and provides a glossy finish.
Step 5: Maintenance
Terrazzo flooring, when properly installed and maintained, can last for decades. Regular maintenance involves sweeping or vacuuming to remove dirt and debris that can cause abrasion. Mild soap and water are typically sufficient for cleaning. Avoid using harsh chemicals that can damage the sealer or the terrazzo surface.
Step 6: Enjoy Your Luxurious Upgrade
With the installation process complete, it’s time to bask in the luxurious ambiance that your new terrazzo flooring brings to your home. The unique patterns and colors of the aggregates, coupled with the glossy finish, will undoubtedly elevate the aesthetics of your living space.
Installing terrazzo flooring is a meticulous process that requires skill and attention to detail. The result, however, is a breathtakingly beautiful and durable flooring option that exudes luxury and sophistication. By following these steps and working with experienced professionals, you can transform your home into a haven of elegance and style that will stand the test of time. At Al Mina Marble and Granite Trading LLC, we have a wide range of terrazzo collections. For more info www.minamarbles.com